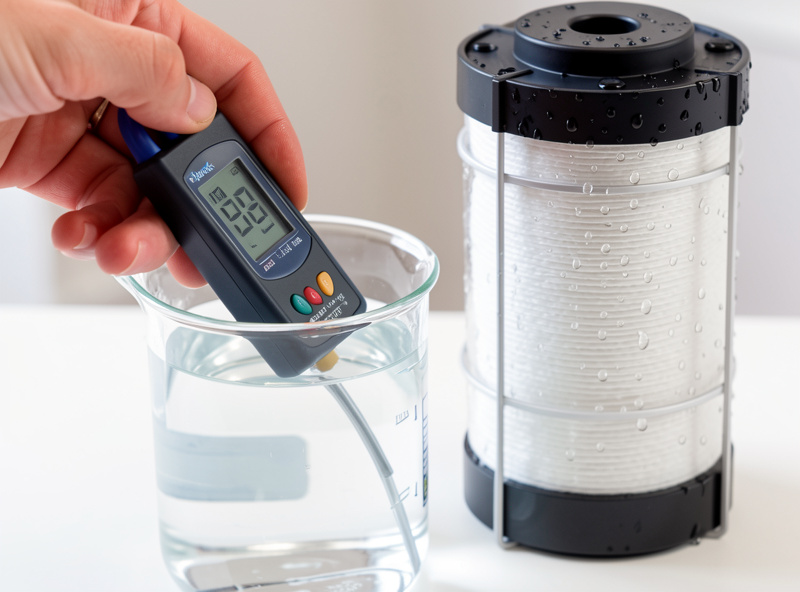
An RO system for an aquarium is a reverse osmosis filter that strips your tap water down to near-zero dissolved solids so you can rebuild it to a known recipe. For a nano tank that swings fast, that control is the difference between guessing and knowing. My RO/DI unit reads under 5 ppm on the TDS pen where my tap reads 310 — and every parameter I care about starts from that blank slate.
Here is the thing nobody at the fish store tells you: the water is the tank. Fish, shrimp, and plants live inside a chemistry you either control or you don’t, and in a 20-liter box that chemistry moves faster than most keepers can react. I came to aquariums sideways, through years of hydroponics, where I metered pH and EC on nutrient reservoirs every single day because guessing killed plants. The aquarium confirmed everything the hydro bench taught me: test, don’t guess, whatever’s living in the water. This guide is the map for the whole water-source decision — whether you even need RO, how to pick a unit, how to treat tap water if you don’t, and how to rebuild RO into something alive.
Get this layer right and the rest of nano keeping gets quietly easier. Get it wrong and you’ll chase ghost problems — mystery shrimp deaths, plants that melt, algae you can’t diagnose — for months. I spent one of those months myself, and I’ll tell you where it went wrong further down.
What Is an RO System and Why Do Nano Tanks Care So Much?
A reverse osmosis system pushes tap water through a semi-permeable membrane under household pressure, and the membrane rejects roughly 90 to 98 percent of dissolved solids — minerals, chlorine byproducts, nitrate, phosphate, most of what your municipality adds or your ground carries. What comes out the other side is close to a blank slate: my unit lands between 2 and 6 ppm depending on how fresh the membrane is.
Small volume is why nano keepers obsess over this when a 400-liter keeper might shrug. In a big tank, a slug of hard, nitrate-loaded tap water gets diluted into insignificance. In my Fluval Spec-class 20-liter, a 30 percent water change is six liters — and if that six liters carries a wildly different mineral load than the tank, the inhabitants feel the swing within the hour. RO lets me make every water change identical to the last one. The number on the pen this week matches the number from three months ago because I mix to a recipe, not to whatever the utility felt like sending down the pipe.
There’s a physics reason the recipe matters. Dissolved minerals set two things livestock feel directly: general hardness (GH, the calcium and magnesium shrimp need to build shells and plants use to grow) and carbonate hardness (KH, the buffer that keeps pH from crashing). Tap water gives you whatever GH and KH the aquifer holds, which changes seasonally and after utility maintenance. RO gives you zero of both, and then you add exactly the GH and KH your inhabitants want. If you keep anything sensitive, that control is not a luxury — it’s the whole game.
Do You Actually Need RO Water, or Is Your Tap Fine?
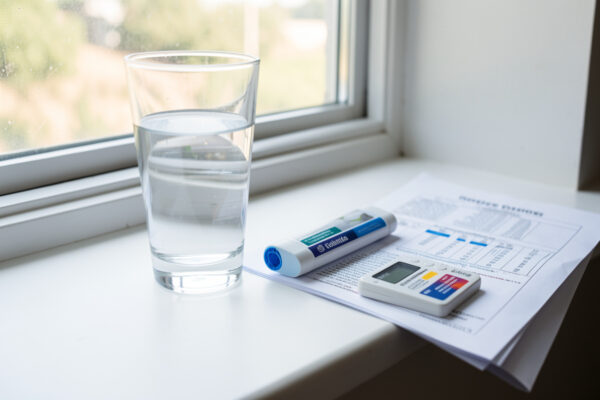
Honest answer: most beginners with hardy stock do not need RO, and I won’t sell you a $180 unit to make lettuce-grade lettuce. If your tap is moderate (say GH 6 to 10, KH 3 to 6) and you keep hardy community fish or Neocaridina shrimp, dechlorinated tap can run a beautiful, stable tank for years. My low-tech reference nano ran on treated tap for its first eighteen months and never blinked.
RO earns its place in three situations. First, when your tap is extreme — I’ve read utility reports showing 400-plus ppm out of the faucet, and no amount of good intentions fixes rock-hard water for soft-water species. Second, when you keep something that demands specific, stable parameters: Caridina bee shrimp (breeders report they want soft, low-KH water your tap can’t hit), wild bettas, disc_us-class softwater fish. Third, when you want repeatability across many tanks and refuse to let the utility’s seasonal drift move your baseline. I walk through the full decision tree in this breakdown of whether you actually need RO water for your tank, because the wrong answer here wastes either money or livestock.
The mistake I see constantly is panic-buying RO because a forum told someone to. Then they run pure zero-TDS water straight into a shrimp tank, skip remineralization, and wonder why the colony stops molting cleanly. RO without a rebuild plan is worse than good tap. Decide the source question first — need-versus-want — and only then shop hardware.
How Do the Common Water Sources Compare?
Every source is a starting point with its own prep tax. I’ve run tanks on all of these except distilled-as-primary, and the table below is how I’d rank them for a nano keeper deciding today. TDS ranges are typical, not promises — measure your own, because your tap and my tap are different animals.
| Water Source | Typical TDS (ppm) | Prep Before Use | Best For | Main Risk |
| Dechlorinated tap | 80–450 | Conditioner, sometimes aeration | Hardy fish, Neocaridina, beginners | Seasonal drift, high nitrate/phosphate |
| RO (membrane only) | 2–15 | Remineralize to target GH/KH | Softwater fish, planted control | Zero-TDS shock if used unremineralized |
| RO/DI (membrane + resin) | 0–2 | Remineralize to target GH/KH | Caridina shrimp, sensitive scapes | Cost, DI resin replacement |
| Well water | 150–1000+ | Test fully, aerate, sometimes RO anyway | Rural keepers who test first | Iron, gas, nitrate, no chlorine safety net |
| Store distilled | 0–5 | Remineralize; hauling logistics | Tiny setups, RO not worth it | Cost per liter, jug-hauling fatigue |
Read that table as a spectrum of control versus effort. Tap is easiest and least controllable; RO/DI is the most controllable and the most work. Well water is the wildcard — it can be excellent or a slow poison, and you cannot know which without a full test panel, which is exactly why I gave well water for aquariums its own testing walkthrough.
What Does a Good RO/DI System Actually Do?
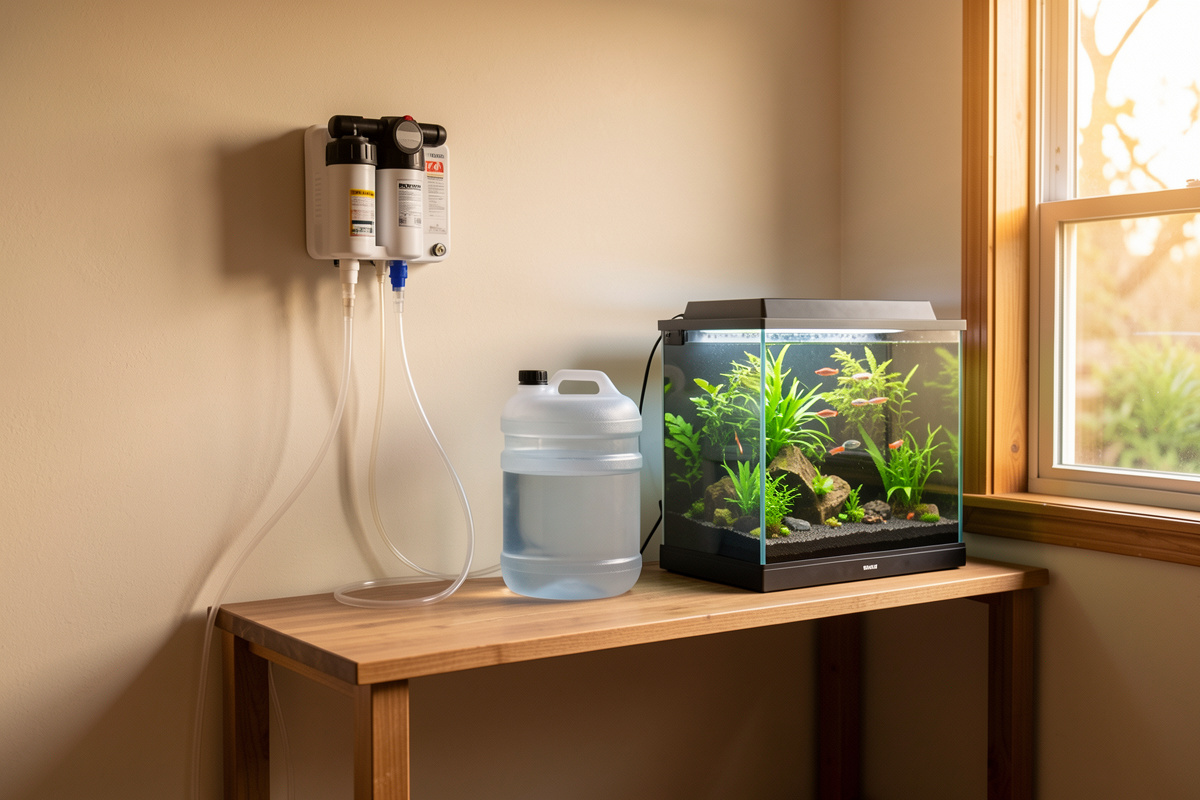
A quality RO/DI unit runs water through four or five stages in sequence, and each stage has a job. A sediment pre-filter catches grit that would clog the membrane. One or two carbon blocks strip chlorine and chloramine — critical, because chlorine destroys the RO membrane, so the carbon is protecting your most expensive part. The RO membrane does the heavy lifting, rejecting the bulk of dissolved solids. Then a deionization (DI) resin polishes the last few ppm down to a true zero. My unit hits 0 ppm on the pen straight out of the DI stage, and the day it starts reading 1 or 2 is the day I know the resin is exhausting.
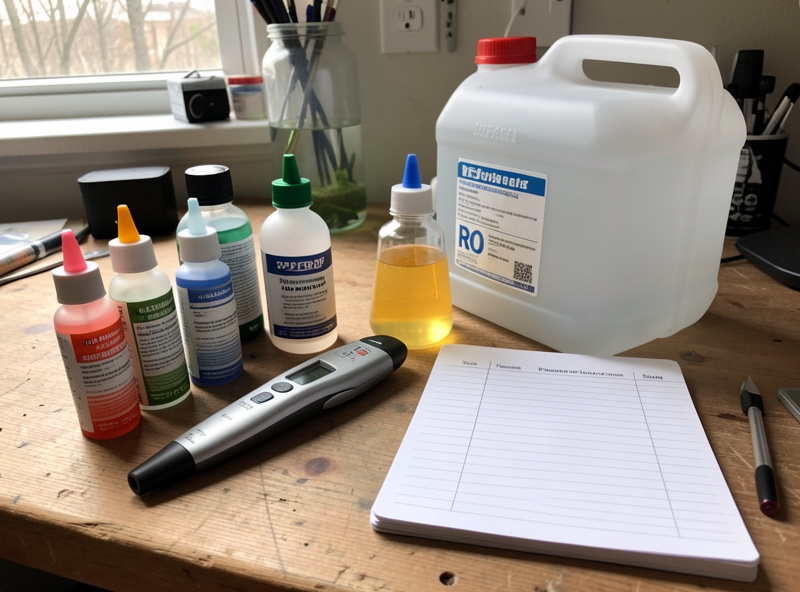
Stage count matters less than build quality and the numbers on the spec sheet. A 75 gallon-per-day (GPD) membrane is standard for a fishroom; a 100 GPD fills jugs faster but historically rejects a hair less. Pick the membrane rating to your volume, not to marketing. I run a compact 4-stage unit that fills a 20-liter jug in under two hours, which is plenty for a rack of nanos. If you’re stocking a bigger fishroom or want faster fills and better rejection, I went deep on unit selection — GPD, stage layout, DI versus no-DI — in my guide to the best RO/DI systems for a small fishroom.
The one number every buyer ignores until the water bill arrives is the waste ratio. RO membranes send several liters down the drain for every liter of product water, and that ratio directly hits your utility cost and your conscience. Standard units waste around four to one; a permeate pump or a better membrane can pull that toward one to one. I break down what the numbers actually mean for your bill in the RO waste water ratio explainer — it changed which unit I’d buy again.
What Does Your Tap Water Conditioner Really Remove?
If you land on treated tap — a perfectly good choice for hardy stock — your dechlorinator is the single most important product you’ll buy, and most keepers have no idea what it actually does. A conditioner’s core job is neutralizing chlorine, which utilities add to kill pathogens and which will shred fish gills and nuke your biofilter in minutes. That much everyone knows.
What surprises people is the rest. A good conditioner also handles chloramine, detoxifies the ammonia that chloramine releases when it breaks, and many bind heavy metals like copper that leach from household plumbing. But the marketing claims run ahead of the chemistry, and a conditioner that promises to “remove” ammonia is really converting it to a temporarily bound, less-toxic form — a distinction that matters during a cycle. I pulled apart the label claims, what’s real and what’s aquarium-store folklore, in this breakdown of what dechlorinator really removes.
The dose that matters depends entirely on what your utility uses, and that’s the trap. If your municipality switched from chlorine to chloramine — many have, quietly — your old dosing habits and your old carbon filter may no longer be enough. The two disinfectants behave completely differently, and one of them leaves ammonia behind. I explain why the switch changes everything, and how to find out which one is in your pipe, in chloramine versus chlorine. Call your water utility or read their annual report; the answer is public and it changes your whole tap-water plan.
How I Use a TDS Meter to Run the Whole System
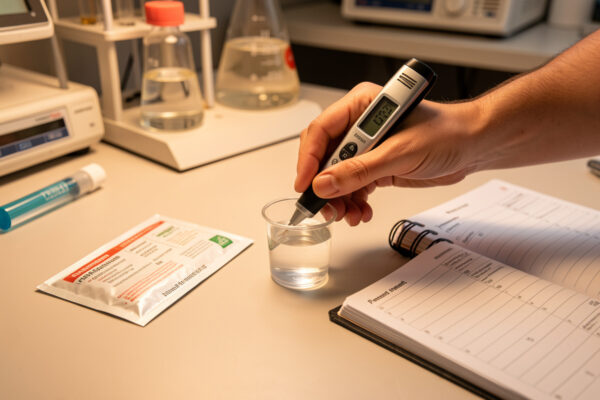
The TDS pen is the instrument that ties this entire guide together, and it’s the cheapest serious tool in the hobby — a decent one runs under $20. TDS stands for total dissolved solids, and the meter doesn’t actually count solids; it measures the water’s electrical conductivity and converts that to a ppm estimate. That distinction matters, and it’s why the same water can read differently on two meters using different conversion factors.
Here’s my working routine. RO output should read near zero — if it climbs, the membrane or DI resin is tiring. Remineralized mixing water reads whatever my recipe targets: around 180 ppm for the Neocaridina colony. Tank water reads a bit higher than the mixing water because of accumulated waste and evaporation concentration, and watching that number creep upward between water changes tells me the bioload story before nitrate does. The pen that lives in my aquarium drawer is the same instrument discipline I ran on hydroponic reservoirs for years — same calibration ritual, same distrust of an uncalibrated reading.
Calibration is the step everyone skips and the reason their numbers lie. A TDS meter drifts, and a pen that reads 12 ppm on pure RO is telling you a story about the pen, not the water. I calibrate against a known standard solution and log the offset, and I walk through the exact routine — which solution, how often, how to spot a dying probe — in my TDS meter calibration routine. An uncalibrated meter is worse than no meter, because it hands you false confidence.
Remineralizing RO Water Isn’t Just a Shrimp Thing
Strip water to zero and you’ve removed the good with the bad. Pure RO or RO/DI water has no GH, no KH, no buffer, and dropping livestock into it is a fast way to kill them — a fish or shrimp moved into unremineralized zero-TDS water can suffer osmotic shock because the water is thirstier than their own tissue. So you rebuild. For shrimp keepers this is gospel; a bag of GH/KH remineralizer and a target TDS is table stakes for a Neocaridina or Caridina colony.
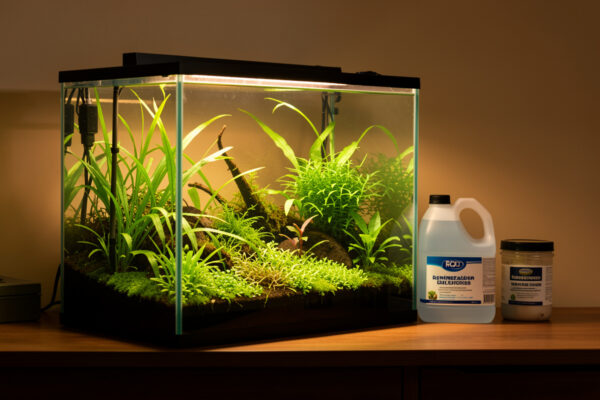
What gets missed is that planted tanks want remineralization too. Plants pull calcium, magnesium, and potassium from the water column, and a lush RO-based scape with no mineral rebuild will show deficiency — twisted new growth, pale leaves, stalled carpets. My high-tech 60-liter runs on remineralized RO precisely so I control the mineral profile the plants see, independent of what my tap happens to carry that month. The recipe for plants differs from the shrimp recipe, and I lay out both — the ratios, the products, the target GH for growth versus the target for molting — in remineralizing RO water for planted tanks, not just shrimp.
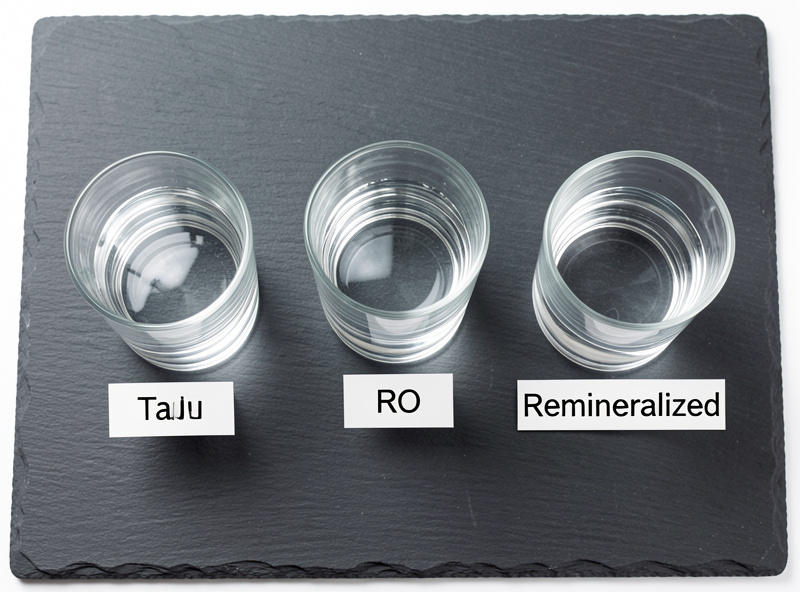
Here’s my one honest confession on this whole topic. Early on, before I trusted my own instruments, I remineralized a batch of RO for my shrimp tank by eye instead of by pen — a scoop that “looked right” against a target I hadn’t measured. My TDS pen was sitting right there, uncalibrated and ignored. Two molts later I had shrimp dying mid-molt with the classic white-ring failure, the shell splitting but the animal unable to finish. That’s a GH problem, and it was entirely mine: I’d guessed the mineral load instead of measuring it. The lesson was the oldest one I own — the same one hydroponics beat into me. The meter was there. I just didn’t use it. I have not eyeballed a remineralization batch since.
Is Well Water Safe for a Nano Tank?
Well water is the source I hedge on hardest, because it’s the one that can hurt you without warning. Municipal water at least gets tested and reported; your well is your responsibility alone. Well water can be superb — some of the most stable tanks I’ve read about run on tested, aerated well water with no RO at all — but it can also carry dissolved iron that rusts out on contact with air, trapped gases that gas-bubble your livestock, agricultural nitrate from surrounding fields, and, critically, no chlorine at all, which is both a blessing and a warning that pathogens aren’t being managed for you.
The rule is absolute: test before you trust. A full panel — GH, KH, pH, ammonia, nitrate, iron, and a TDS baseline — before a single drop touches livestock. Aerate a sample for 24 hours and re-test, because well water’s numbers change as dissolved gases escape and iron oxidizes. I keep the full protocol, including which cheap tests catch the dangerous stuff, in testing well water before you trust it. If the panel comes back ugly, the answer is often to run that well water through RO anyway — which loops you right back to the top of this guide.
What Does This System Cost to Run?
Let’s talk money, because “control” isn’t free and I won’t pretend it is. The upfront cost of a decent RO/DI unit runs roughly $70 to $200 depending on stages and quality, plus remineralizer and a TDS pen. The ongoing cost is where people get surprised: replacement filters and DI resin on a schedule, and the water itself. A standard four-to-one waste ratio means you’re paying for five liters of tap to make one liter of product, and on a metered supply that adds up over a fishroom’s worth of water changes.
That waste ratio is the single biggest lever on running cost, and it’s worth understanding before you buy rather than after your first big water bill. A permeate pump or a higher-efficiency membrane can roughly halve your waste, paying for itself over a year of a busy fishroom. I ran the actual numbers — waste ratios, resin lifespan, cost per liter of usable water versus store-bought RO — in the waste water ratio breakdown. For a single nano, honestly, store-bought distilled or RO might beat owning a unit; the math flips somewhere around a two- or three-tank fishroom.
One more cost that isn’t money: attention. An RO-based system is a small standing commitment — jugs to fill, filters to change, a recipe to mix, a pen to calibrate. If you’ll actually do that, the payoff is total control over the one thing that governs everything else in a nano tank. If you won’t, be honest with yourself and keep hardy stock on well-treated tap. Both are legitimate; the failure mode is buying the hardware and skipping the discipline.
As an Amazon Associate I earn from qualifying purchases.
If you’re assembling a starter water bench, the three tools that earn their place first are a digital TDS meter, a 4- or 5-stage RO/DI unit sized to your fishroom, and a bag of GH/KH remineralizer to rebuild what the membrane strips out. Buy those three before any gadget.
The Chemistry Underneath It All
Everything above is one idea wearing different hats: you cannot manage what you don’t measure. Whether your water starts as tap, RO, or a well in the ground, the inhabitants live inside its chemistry, and a nano tank’s small volume means that chemistry moves fast enough to punish guessing. The United States Geological Survey’s water science resources are a solid, non-commercial primer on hardness and dissolved solids if you want the ground truth behind these numbers — see the USGS Water Science School. And if your plan involves treating tap, the EPA’s page on chloramine in drinking water is the authoritative source for what your utility may be putting in the pipe.
What I’d do starting today, if I were setting up my first controlled nano: buy the TDS pen first, call my utility to learn whether they run chlorine or chloramine, and only then decide whether my tap needs replacing or just treating. The pen costs less than a bag of substrate and it will out-teach every gadget you’re tempted to buy in a panic. Test, don’t guess — the roots don’t care whether they have fins.
Do I need an RO system for a small aquarium?
Not always. If your tap water is moderate in hardness and you keep hardy fish or Neocaridina shrimp, dechlorinated tap runs a stable tank for years. RO becomes worth it when your tap is extreme, when you keep sensitive softwater species like Caridina shrimp, or when you want identical water across many tanks. Decide the need before buying hardware.
What is the difference between RO and RO/DI water?
An RO membrane rejects roughly 90 to 98 percent of dissolved solids, typically landing between 2 and 15 ppm. Adding a deionization resin stage (RO/DI) polishes the last few ppm down to a true zero. RO/DI is worth the extra cost for the most sensitive livestock like Caridina bee shrimp, where even trace minerals matter.
Can I put fish or shrimp straight into pure RO water?
No. Pure RO or RO/DI water has zero general hardness and zero buffer, and livestock moved into it can suffer osmotic shock. You must remineralize RO water to a target GH and KH before adding any inhabitants. Shrimp and planted tanks both need this rebuild, just with different mineral recipes.
How much does RO water waste?
A standard reverse osmosis membrane sends roughly four liters down the drain for every liter of usable product water. A permeate pump or a higher-efficiency membrane can improve that toward one or two to one. The waste ratio is the biggest single lever on your running cost, so it is worth checking before you buy a unit.
Is a TDS meter necessary for aquarium water?
It is the cheapest serious tool in the hobby and the one that ties your whole water system together. A TDS meter tells you when your RO membrane is tiring, confirms your remineralization hit target, and reveals bioload creep between water changes. Just remember to calibrate it against a known standard, because an uncalibrated meter gives false confidence.
Keep Building Your Water Bench
- Do You Actually Need RO Water for Your Tank?
- Best RO/DI Systems for a Small Fishroom
- Tap Water Conditioners: What Dechlorinator Really Removes
- Using a TDS Meter for Aquarium Water: My Calibration Routine
- Remineralizing RO Water for Planted Tanks, Not Just Shrimp
- Well Water for Aquariums: Testing Before You Trust It