A leaking aquarium seam is far less often a disaster than it feels in the moment. Most “leaks” on a small tank turn out to be condensation, a splashing return, or a hairline weep in the silicone bead — not the glass failing. The right first move is to dry everything, find the true source, and decide whether you’re looking at a surface issue or a structural one before you drain a single liter.
I’ve had a tank weep on me, and the jolt of adrenaline when you see a wet line under a stand is real. But panic drains tanks that didn’t need draining and cracks glass that was fine. Over years of running four small systems I’ve learned that the silicone in a modern aquarium is a gasket, not structural glue — understanding that one fact changes how you respond to every leak.
So this is the calm version: how to confirm whether you actually have a leak, where nano tanks really fail, and how to make the assess-or-act decision without turning a minor weep into a flooded floor. If there’s water on your stand right now, breathe — and start with the diagnosis, not the bucket.
Is It Actually a Leak, or Something That Looks Like One?
Before assuming the worst, rule out the impostors. Condensation on cool glass, a filter return splashing over the rim, evaporation misread as a drop in level, and airline or tubing drips all masquerade as leaks. Dry the outside of the tank completely, then watch where water reappears — that tells you whether the glass is truly weeping.
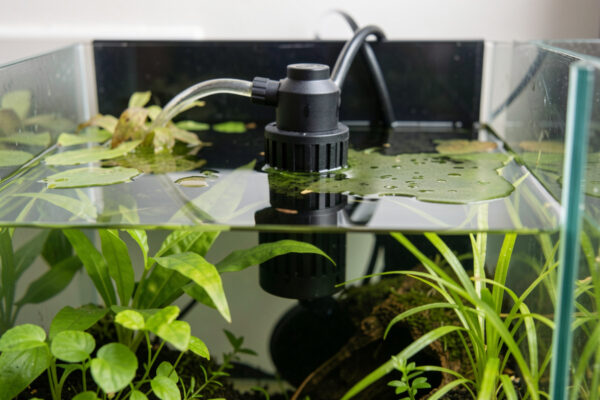
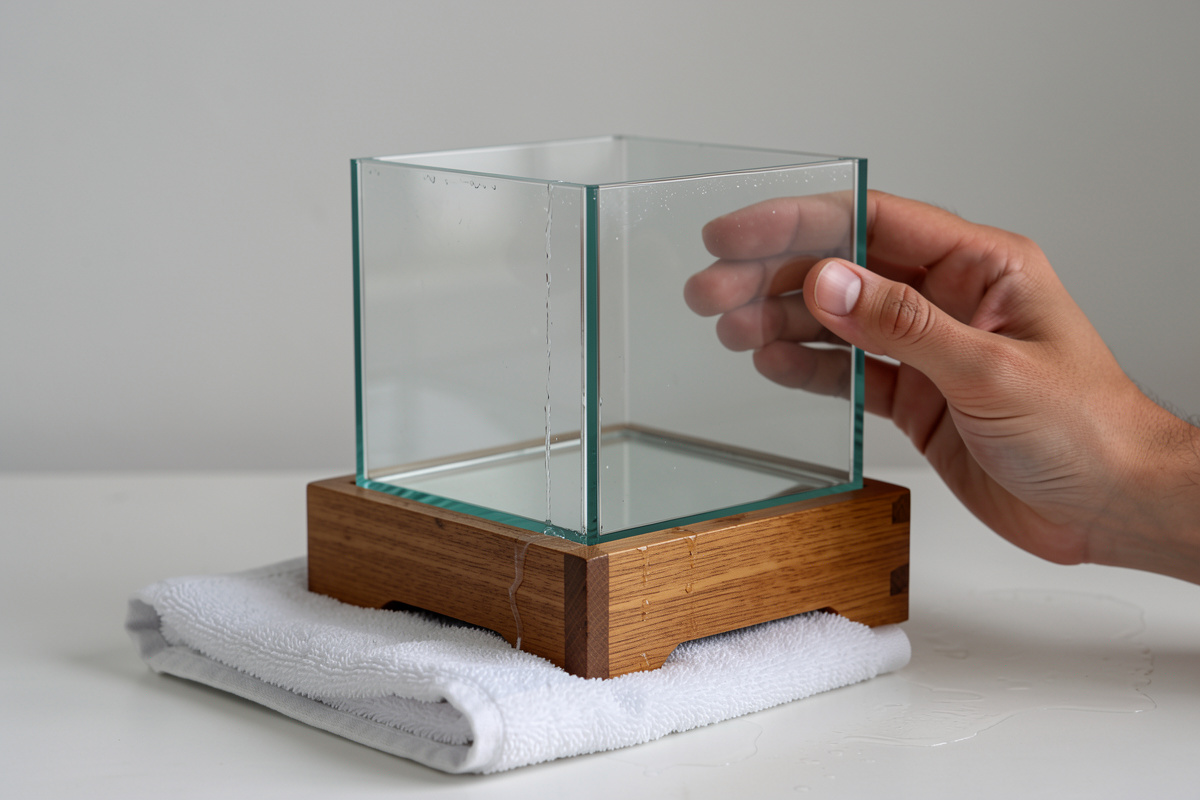
The number of “leaks” that turn out to be a return outflow spraying a fine mist over the back rim is high, and I’ve chased a couple myself before feeling foolish. Condensation is the other great deceiver: a cool tank in a warm, humid room sweats on the outside glass, and a bead runs down to pool at the base exactly like a seam leak would. The test is simple and unglamorous — take a dry paper towel, wipe every outside surface and the whole base bone dry, and then watch. If water returns as a discrete line tracking down one corner, you have a seam weep. If it’s a general dampness or reappears only where a bag of cool water met warm air, you have condensation. And check your top-off habits: a dropping water level from ordinary evaporation gets misread as a leak all the time, when it’s just the small-volume reality I cover in water change cadence for nano tanks.
How Do You Find the Exact Source of a Seam Leak?
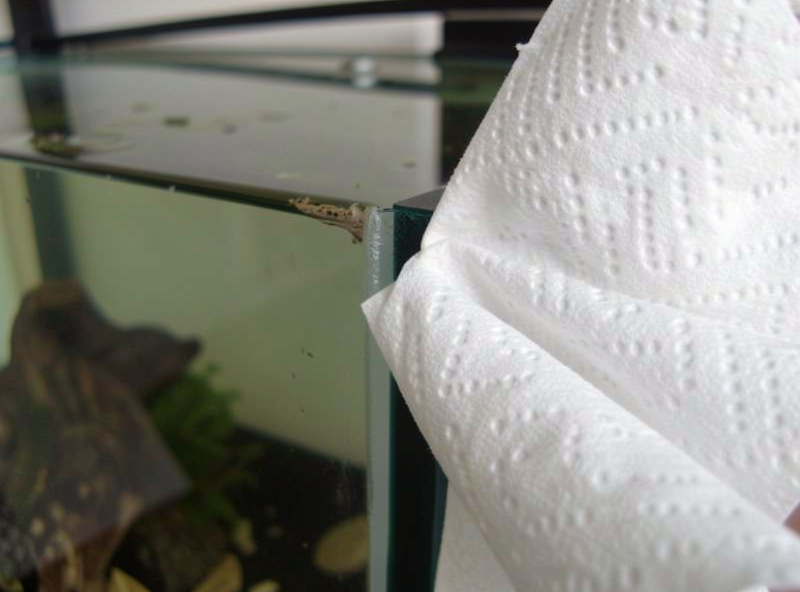
Work the corners with a dry paper towel and drop the water level in stages. Wipe the tank dry, press a fresh towel against each vertical seam and the bottom corners, and watch which one dampens first. Then lower the water below the suspect seam — if the weep stops, you’ve confirmed the source and bought yourself time.
Precision here saves you from a bad decision. A leak seeps at the point of failure, so the seam that wets a dry towel first is your culprit. Lowering the water level is both diagnostic and protective: hydrostatic pressure rises with depth — the deeper the water, the harder it pushes on the lower seams, the basic fluid statics relationship where pressure equals density times gravity times depth. So a weep near the base is under the most pressure, and dropping the level even a few centimeters reduces the force on that seam and often slows or stops the leak entirely. That’s why “lower the water” is my first stabilizing move: it turns an active leak into a controlled situation while you decide what to do. Mark where the wet line starts and ends — a surface bead peel looks different from a through-seam failure, and you want to know which before you commit to a repair.
Surface Weep or Structural Failure: How Do You Tell?
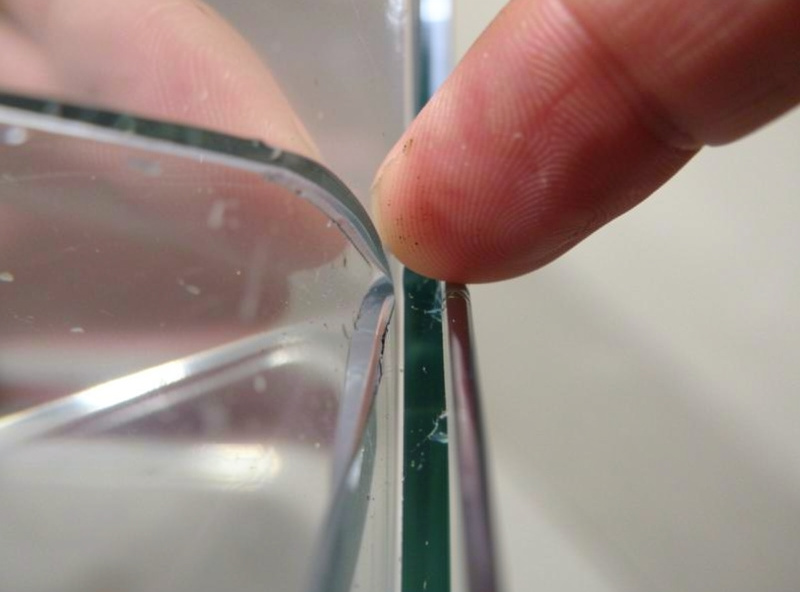
Run a fingertip along the inside silicone bead at the leaking seam. If the bead is peeling, lifted, or has a visible gap you can catch a nail on, it’s a surface silicone failure — repairable. If the glass panels themselves have shifted, or you see a crack or a chip radiating from the seam, that’s structural, and the tank should be retired, not resealed.
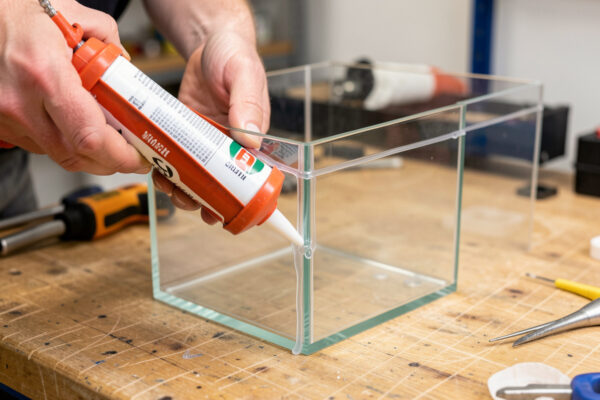
This is the honesty check that decides everything downstream. The silicone bead you see on the inside of every corner is the water seal; the structural strength comes from the panels being siliconed edge-to-edge and the water pressure holding them together. When only the visible inner bead has peeled or developed a gap, water sneaks behind it and weeps out the seam — annoying, but the tank is sound and a reseal will fix it. What you must not do is reseal over a genuine structural problem. A crack in the glass, a panel that has visibly slipped, or a chipped corner is a tank telling you it’s done. Resealing that is putting a plaster on a broken bone, and it will fail — possibly all at once. On a nano the volumes are small enough that a full failure floods a shelf rather than a room, but it’s still a dead tank and dead livestock. When it genuinely is the bead, the reseal is a real, honest job with a real failure rate — and it only holds if you use 100% RTV aquarium-safe silicone with no mildewcide additives, which I walk through step by step in the equipment troubleshooting hub’s resealing guide.
What’s the Emergency Move for a Fast-Leaking Tank?
Lower the water level below the leak and get the livestock into safe holding water — in that order. Dropping the level slows the leak by reducing pressure on the seam; moving fish and shrimp into a bucket or spare container of tank water removes the deadline. A slow weep rarely needs either, but a running leak needs both, calmly and fast.
Keep a clean bucket and a spare container in your fish gear precisely for this. If a seam is actively running rather than weeping, siphon the tank down below the failure point into buckets, saving that water because it’s already conditioned and cycled — you’ll reuse it. Net the animals into a holding container of that same water so parameters don’t swing, and if the room is cool, float their container in something warm or move it near a heat source, since a small volume loses temperature fast. This is another place a spare heater and an air pump earn their shelf space. The whole point of dropping the level is that you convert an emergency into a project: a tank at 20% full with a weep at the 80% line isn’t leaking anymore, and now you can dry the seam and plan a proper reseal instead of scrambling. Small water punishes hesitation, but it also means the emergency volumes are manageable if you move deliberately — the recurring lesson of why small water is the advanced class.
Can You Keep Running a Tank With a Minor Weep?
For a short, monitored period, sometimes — but it’s a stopgap, not a fix. A tiny surface weep won’t empty a tank overnight, so you can run it at a lowered level below the leak while you gather materials for a reseal. What you can’t do is ignore it: silicone failures spread, and a hairline weep becomes a seam failure on its own schedule.
I don’t recommend living with a leak long-term, but I’m realistic that you may need a few days to get proper aquarium-safe silicone and a free evening. In that window, run the tank a couple of centimeters below the weep, put a towel and a tray under it so a surprise is contained, and check it daily. Two safety notes I won’t soften. First, water finding its way to a power strip or the filter’s plug is an electrocution and fire hazard — this is exactly why every tank belongs on a GFCI outlet, a protection the National Fire Protection Association‘s National Electrical Code (Article 210.8) has required in damp locations for decades. Position cords in a drip loop and keep the power strip above the tank line. Second, a leak that grows day over day is not stable — escalate to the reseal or retire the tank. A weep that’s holding steady buys you time; a weep that’s growing is a countdown. This failure, like every other, comes back to reading the tank honestly and acting in the right order — the spine of my whole troubleshooting hub.
Is a weeping aquarium seam always an emergency?
No. Most small-tank seam weeps are slow surface-silicone issues, not the glass failing, and they will not empty a tank overnight. Confirm the source by drying the tank and watching where water returns, then lower the water level below the leak to reduce pressure and buy time. Only a growing or fast leak is a true emergency.
How do I find where my aquarium is leaking?
Wipe the entire outside of the tank and its base completely dry, then press a fresh paper towel against each vertical seam and bottom corner and watch which dampens first. That is your source. Lowering the water below the suspect seam confirms it, because the weep will slow or stop once the pressure on that seam drops.
Can I reseal a leaking tank or should I replace it?
It depends on the failure. If only the inner silicone bead has peeled or gapped, it is a surface issue and a reseal will fix it. If the glass is cracked or chipped, or a panel has visibly shifted, the tank is structurally compromised and should be retired. Never reseal over a structural failure, because it will fail again.
What should I do first if my aquarium is leaking fast?
Lower the water level below the leak to slow it by reducing pressure on the seam, then move your fish and shrimp into a bucket of the tank’s own water so their parameters do not swing. Save the drained water because it is already conditioned and cycled. Keep water away from power strips and cords.