Resealing a small aquarium is a real repair, but only with 100% RTV silicone that contains no mold inhibitors, and only when the failure is the silicone bead and not the glass. Done right, it holds for years. Done with the wrong sealant or over a structural crack, it fails — sometimes all at once. And here’s the honest part most guides skip: on a cheap nano, replacing the tank is often the smarter call than resealing it.
I’ve resealed a small tank, and I’ll tell you up front it’s finicky, slow, and unforgiving of shortcuts. The silicone in an aquarium is a gasket that keeps water from finding the seam; the panels themselves, siliconed edge to edge and held by water pressure, are the structure. A reseal restores that gasket. It cannot fix broken glass, and it cannot tolerate the wrong chemistry.
So this is the honest walkthrough: when to reseal versus replace, exactly which silicone is safe and why, the full-cure timeline you cannot rush, and the mistakes that turn a reseal into a slow-motion flood. If you haven’t yet confirmed that your leak is the bead and not the glass, start with assessing the leak first.
Should You Even Reseal, or Just Replace the Tank?
Reseal only if the failure is a peeled or gapped inner silicone bead on a structurally sound tank. If the glass is cracked, chipped, or a panel has shifted, replace it — no sealant fixes broken glass. And be honest about economics: a new nano often costs less than an evening of careful resealing is worth, so reserve the reseal for tanks with sentimental or size value.
This is the decision I wish more guides made plainly. Resealing the visible inner bead is a legitimate repair when only that water seal has failed — the panels are still bonded and sound, and a fresh bead stops the weep. But people attempt reseals on tanks that are structurally finished: a hairline crack in a panel, a chipped corner radiating stress, glass that has visibly bowed or slipped. You cannot bandage that. A reseal over a structural failure buys you weeks at best before it lets go, and on a tank with livestock that’s a disaster you scheduled yourself. The other honest filter is money and time. A small tank is inexpensive, and a proper reseal — strip, clean, cure — is the better part of a day plus a week of curing. I reseal a nano only when the tank is worth more than its replacement, which for a plain rimless nano it rarely is. My high-value tanks, yes; a $20 kit tank, I replace. Small water rewards pragmatism, the same way it rewards the discipline behind running small tanks as the advanced class.
What Silicone Is Actually Safe for an Aquarium?
Only 100% RTV silicone with no added mildewcide, fungicide, or other biocide. Standard bathroom and window silicones often contain mold inhibitors that leach and poison livestock, and many “silicone” caulks are actually acrylic or hybrid blends that won’t bond or hold water. Use a sealant labeled aquarium-safe, or a certified pure one-part acetoxy-cure RTV silicone.
This is the make-or-break detail, so I’ll be precise. Aquarium-safe means one-part, 100% silicone rubber that cures by the acetoxy process (it smells of vinegar as it cures) and contains no antimicrobial additives. The mildewcides added to bathroom silicone to stop shower mold are exactly what you must avoid, because they leach into a small volume of water and harm shrimp and fish. Products in the RTV108 class — one-part acetoxy RTV silicones from makers like Momentive — are the classic aquarium-safe choice precisely because they’re pure silicone without biocides; always read the current datasheet, since formulations change. Structurally, quality elastomeric sealants are specified against standards such as ASTM C920, the ASTM standard for elastomeric joint sealants, which is the kind of spec that separates a real structural silicone from a decorative caulk. Two failure modes to avoid: a mildewcide-laced silicone that slowly poisons the tank, and a non-silicone “caulk” that never truly bonds to glass and peels under pressure. When in doubt, buy the tube that literally says aquarium on it.
How Do You Strip and Prep the Old Seam?
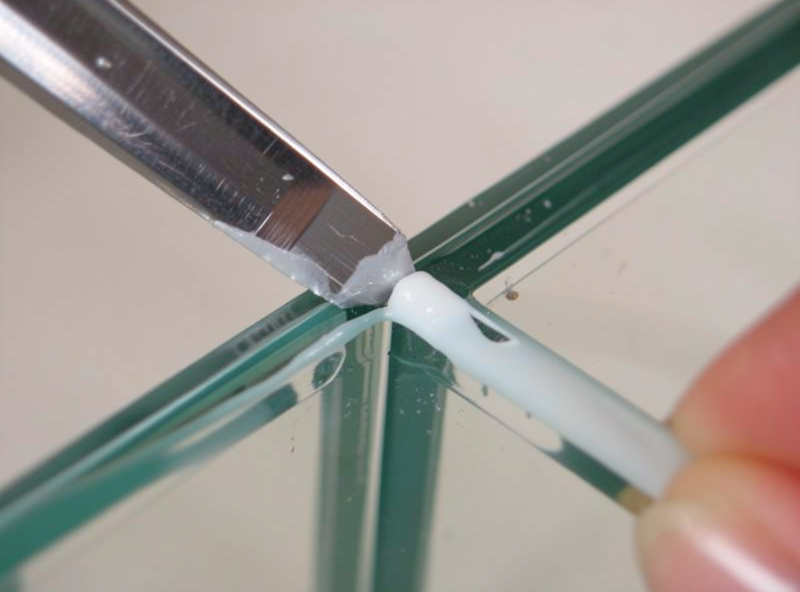
Drain and fully dry the tank, then cut away all of the old inner bead with a razor blade — every trace, because new silicone won’t bond to old silicone. Clean the glass with acetone or pure alcohol to remove residue and oils, let it flash off completely, and mask the seam with tape for a clean bead. Preparation is 80% of a reseal that holds.
Take your time here, because adhesion failures nearly always trace to prep. Empty the tank completely and let it dry for a day — silicone will not cure or bond against moisture. With a fresh razor blade, slice out the entire inner silicone bead along the failing seams; you’re removing only the visible water-seal bead, not attempting to separate the structural panel bond. Get it all, down to clean glass, because fresh silicone bonds to glass, not to cured silicone. Wipe the stripped seam with acetone or isopropyl alcohol on a lint-free cloth to strip oils and residue, and let the solvent evaporate fully. Mask both sides of the seam with painter’s tape a few millimeters back for a crisp bead you’ll pull before it skins. The feel of this job is distinct — the vinegar bite of acetoxy silicone, the squeak of a blade on clean glass, the tack of a bead as you tool it. It’s satisfying when it goes right, and it only goes right if the glass is spotless and bone dry.
How Do You Lay a Bead That Actually Holds?
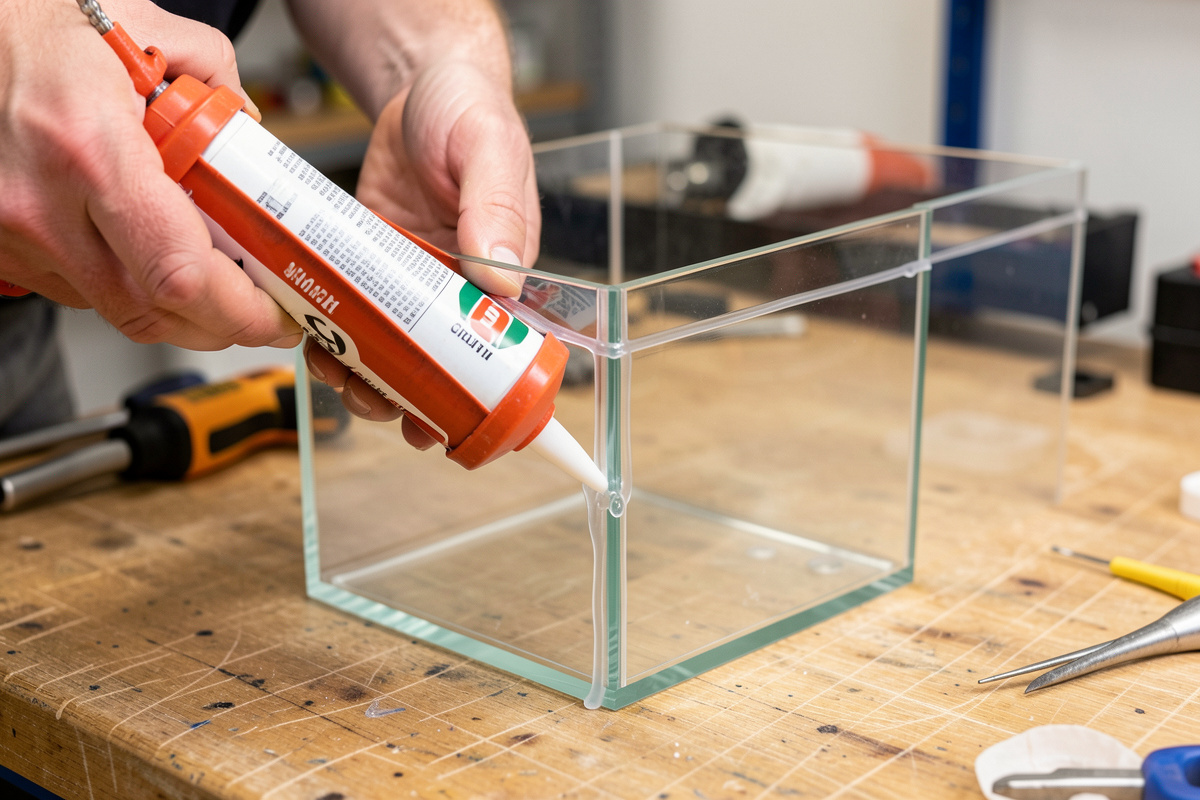
Apply a continuous bead into the clean seam, then tool it smooth with a wet gloved finger or a silicone tool in one pass, pressing it into the joint so it wets both glass faces. Pull the masking tape immediately while the silicone is wet. A bead pressed firmly into the corner — not just smeared over it — is what creates a durable, watertight seal.
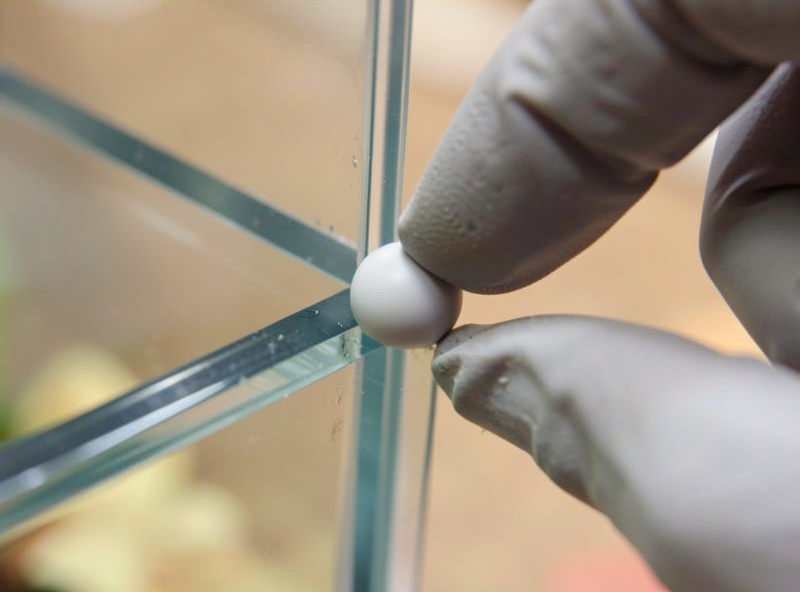
Work one seam at a time so nothing skins before you tool it. Cut the nozzle to a small opening, lay a steady bead down the full length of the seam without stopping, then immediately tool it: a wet gloved fingertip drawn once along the joint presses the silicone into the corner and leaves a concave, gap-free fillet. The pressing matters — you want the silicone keyed into both glass panels, not floating on top. Pull the tape while it’s still wet, because peeling cured tape tears the bead edge. Overlap your start and end points so there’s no seam in the seam. Then leave it absolutely alone. The most common cosmetic ruin is fussing with a half-skinned bead; one confident pass beats ten nervous ones. I keep the tank on a level surface while it cures so nothing shifts. This is patient work, the same measure-and-don’t-rush temperament the whole equipment troubleshooting approach is built on.
How Long Does Aquarium Silicone Take to Cure?
Do not add water for at least 24 to 48 hours, and give it longer for a thick bead or a humid room. Acetoxy silicone skins in minutes but cures through its full depth slowly — roughly a few millimeters per day — and only fully cured silicone is safe and watertight. Rushing the cure is how a reseal leaks on day two.
Patience is the last and most-broken rule. Manufacturers of RTV silicones give full-cure guidance in days, not hours, because the cure works inward from the surface as the silicone reacts with atmospheric moisture; a thick corner fillet can take the better part of a week to cure through. Waiting 24 to 48 hours before a leak test is the practical minimum for a thin nano bead, and I give a thicker one longer. I learned that the expensive way: the first tank I resealed, I got impatient and filled it right at the 24-hour mark on a thick corner bead that hadn’t cured through — it wept on day two, and I had to strip the whole seam and start over, losing a week I’d have kept if I’d just waited three days the first time. Now I treat the stated cure time as a floor, not a target. Before livestock ever returns, I do a full water test: fill the tank in a location where a leak won’t matter — a bathtub, outdoors — let it stand a full day, and watch the reseal under real pressure. Only after it passes that test does it go back into service, and even then I keep an eye on the seam for the first week, because a reseal is a repair with a genuine failure rate, not a guarantee. When you do refill and restart, treat it like a new setup and watch your parameters as the tank re-stabilizes — my routine for that is in water change cadence for nano tanks. Rush none of it. The whole point of resealing instead of replacing is to end up with a tank you trust, and trust is the one thing you can’t apply with a caulking gun.
Can I use regular bathroom silicone to reseal my aquarium?
No. Most bathroom and window silicones contain added mildewcides or fungicides that leach into the water and harm fish and shrimp, and some caulks labeled silicone are actually acrylic blends that will not bond to glass. Use only 100 percent RTV silicone with no biocides, ideally a product labeled aquarium-safe.
How long should aquarium silicone cure before adding water?
Wait at least 24 to 48 hours for a thin nano bead, and longer for a thick bead or a humid room. Silicone skins in minutes but cures through its full depth slowly, roughly a few millimeters per day. Only fully cured silicone is safe and watertight, so do a leak test with plain water before any livestock returns.
Will new silicone stick to the old silicone bead?
No, and this is the most common reseal failure. Fresh silicone bonds to clean glass, not to cured silicone. You must cut away all of the old inner bead with a razor blade down to bare glass, then clean the seam with acetone or alcohol and let it dry fully before applying the new bead.
Is it worth resealing a small aquarium or should I replace it?
Reseal only if the failure is the silicone bead on a structurally sound tank. If the glass is cracked or a panel has shifted, replace it. And be honest about cost: a plain nano tank is inexpensive, and a proper reseal takes the better part of a day plus a week of curing, so it is usually only worth it for high-value or hard-to-replace tanks.