Capping is the cheapest way to get serious plant growth in a planted tank: a nutrient layer of soil on the bottom, locked down under an inch of inert sand or gravel. Done right, a capped dirt tank out-grows a bag of aqua soil for a fraction of the cost and lasts three to five years. Done wrong, the first time you disturb it you get a cloud of mud and a smell of rotten eggs. The cap is what stands between those two outcomes, and the technique is fussier than it looks.
I keep a capped tank alongside my aqua-soil scapes precisely because it proves a point my hydroponics years drummed in: plants do not care what a substrate costs, only what it delivers to their roots. A few kronor of organic soil under a sand cap delivers as much as a premium bag. But the margin for error is smaller, so this guide walks the whole method — what to put on the bottom, what to cap it with, how thick, how to flood it, and the mistakes that turn a budget triumph into a teardown.
Why cap soil at all?
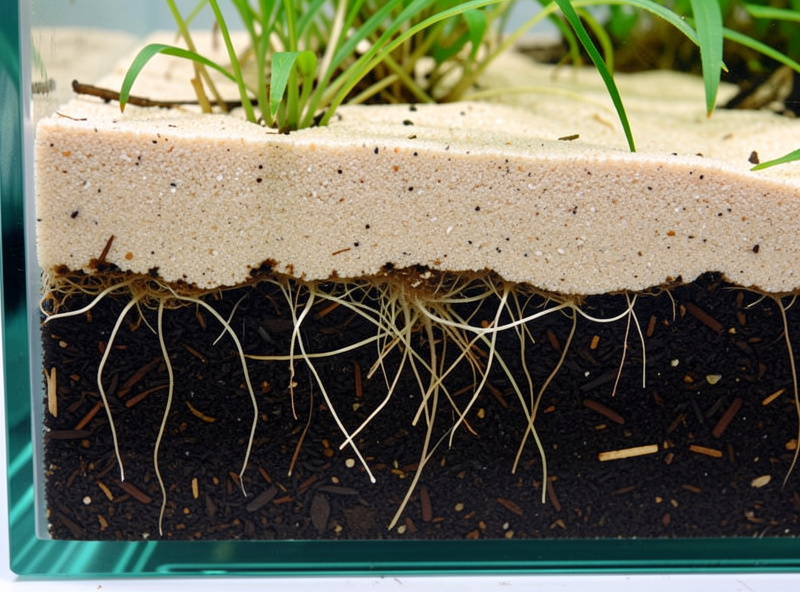
Raw organic soil is loaded with nutrients, but if you put it in a tank uncapped it turns the water into mud soup the moment a fish stirs it or you plant into it. The cap — a layer of inert sand or fine gravel over the top — physically traps the soil underneath. It keeps the water clear, stops the lightweight organic matter floating up, and holds the nutrients down in the root zone where plants want them. The soil feeds, the cap contains. That division of labour is the entire concept.
It also slows the release of nutrients into the water column, which matters for algae. A bare nutrient soil dumps everything at once; a capped one meters it out through the sand, feeding roots while keeping the water relatively lean. That is why a well-built capped tank can run high growth without the algae blooms a sloppy nutrient dump would trigger — the cap is doing chemistry management as well as cosmetic work.
What to use for the base layer
The base is the nutrient engine. The common choices are plain organic potting soil (sifted to remove bark and perlite), worm castings, or “mineralized” topsoil that has been wetted and dried in cycles to mellow its ammonia before it ever goes in a tank. For a nano, you want a base that is rich but not hot — pure fresh manure-heavy soils leach far too aggressively. I sift a basic organic topsoil and keep the base layer modest, because in a small volume an over-rich base is an ammonia problem waiting to happen.
Whatever you choose, the base leaches ammonia as it breaks down early on, exactly like an active aqua soil does. That means a capped tank needs a full cycle before livestock, with heavy early water changes to export the first flush of nutrients. Treat the start of a dirted tank with the same patience you would give an ADA Amazonia setup — the chemistry is similar, even if the price is not.
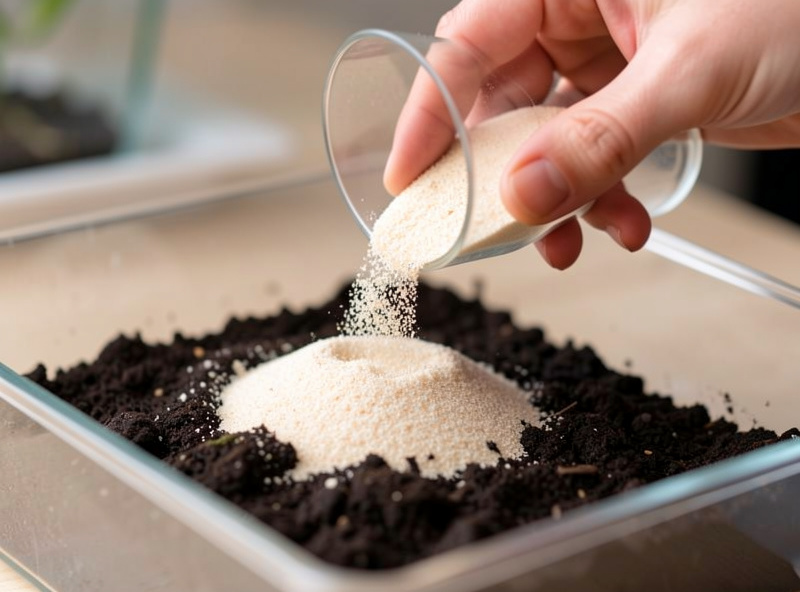
Choosing the cap material
The cap has to be heavy enough to stay put but fine enough to look good and let roots through. Grain size is the whole decision: too fine and it compacts and goes anaerobic, too coarse and soil sifts up through the gaps. Here is how the common caps compare for a nano.
| Cap material | Grain size | Holds soil down | Notes |
|---|---|---|---|
| Pool filter sand | Medium, uniform | Well | Cheap, natural look, easy to find |
| Fine inert gravel | Coarser | Well | Roots anchor easily, soil can sift if too coarse |
| Blasting/play sand | Fine | Adequate | Looks great, can compact if too deep |
| Aqua soil (as cap) | Granular | Well | Works but defeats the budget purpose |
My default is pool filter sand or a fine inert gravel — both hold the base reliably and let stem roots punch through. Avoid the very finest sands at depth, because a thick layer of ultra-fine sand compacts and breeds the anaerobic pockets you are trying to avoid.
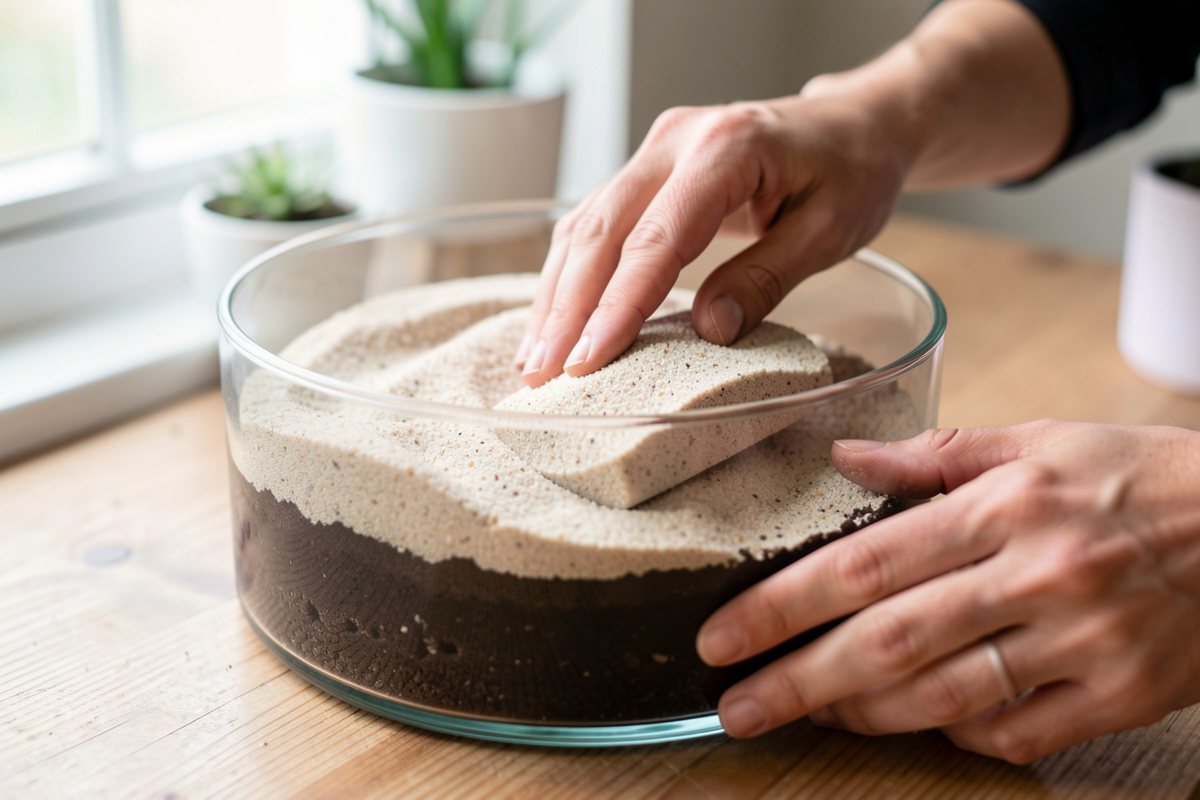
How thick should the cap be?
The cap wants to be about 2.5 cm — roughly an inch — over a base of similar or slightly less depth. Thinner than that and plants uproot down into the soil, releasing it into the water; much thicker and you are burying the nutrient layer too deep for shallow-rooted plants to reach, while risking compaction. As a rule I run a base of around 2 cm and a cap of around 2.5 cm in a nano, sloping the whole bed up toward the back for depth. The overall numbers tie into my substrate depth guide, where the front-to-back slope logic lives.
Keep the cap consistent across the whole footprint — a spot where it thins to nothing is a spot where soil will eventually breach. If you are aquascaping with hardscape, set your rocks and wood on the base or on the glass before capping so they sit stable and do not later shift and crack the cap open.
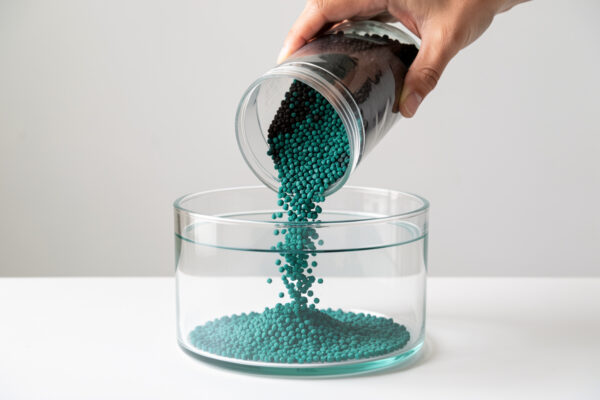
Flooding without making mud soup
This is where capped tanks are won or lost. Even a perfect cap will billow into brown clouds if you blast water onto it. You flood a dirted tank slowly and indirectly: lay a plate, a bag, or a sheet of plastic wrap on the substrate and trickle water onto that so the stream spreads sideways instead of cratering down into the soil. Fill to only a few centimetres first, plant if you are doing so, then continue filling gently to the top.
Expect some cloudiness regardless — a little fine sand always lifts. What you must avoid is a breach that pulls the actual soil up, because that brown plume keeps recurring every time the spot is disturbed. If the worst happens and soil breaches during setup, it is far easier to fix before the tank is planted and stocked, so take the flooding slowly and check the cap is intact before you commit livestock.
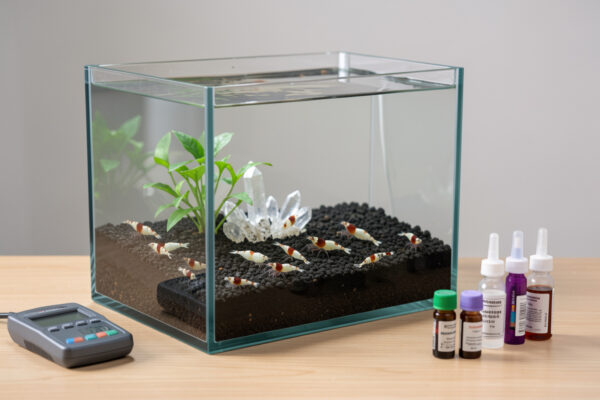
Living with a capped tank
The golden rule after setup is simple: do not dig. You never gravel-vacuum into a capped substrate the way you would clean inert gravel, because puncturing the cap releases trapped gas and soil. You surface-clean only, and you let the rooted plants and the bed do their work. Plant heavy root-feeders that send roots down into the rich base — they thrive in a dirted tank in a way they never will in plain sand.
Anaerobic pockets in the deeper soil will produce gas over time; the occasional small bubble released by a plant root is normal, but if you ever do a deep rescape, expect a sulphur smell as trapped gas escapes and do a large water change alongside it. A capped tank rewards being left alone, and over three to five years it is the best-value high-growth substrate in the hobby. When it finally does need a refresh, my guide on replacing substrate in an established tank covers doing it without crashing the cycle. For where capping fits against soils and inert beds overall, see the planted tank substrate guide and the active vs inert breakdown.
Frequently Asked Questions
What do you cap aquarium soil with?
Cap soil with an inert sand or fine gravel about 2.5 cm thick. Pool filter sand and fine inert gravel are the reliable choices because they hold the soil down while letting roots through. Avoid ultra-fine sand in thick layers, which compacts and goes anaerobic, and avoid coarse gravel that lets soil sift upward.
How thick should a substrate cap be?
Aim for about 2.5 cm, roughly an inch, of cap over a base layer of similar or slightly less depth. Thinner and plants uproot into the soil and release it; much thicker and you bury the nutrients too deep for shallow roots while risking compaction. Keep the cap consistent across the whole tank floor.
Do you have to cycle a dirted tank?
Yes. The soil base leaches ammonia as it breaks down early on, just like an active aqua soil. Run a full cycle with heavy early water changes and wait for ammonia and nitrite to read zero before adding livestock. Treat a capped tank’s start with the same patience you would give a premium aqua soil.
Why does my capped tank smell like rotten eggs?
That sulphur smell is hydrogen sulphide from anaerobic pockets in the deeper soil, released when the substrate is disturbed. Small amounts are normal in a dirted tank. Avoid digging into the cap, and if you do a deep rescape, do a large water change at the same time to dilute the released gas and protect livestock.
How long does a capped dirt tank last?
A well-built capped tank runs three to five years or more, longer than a bag of aqua soil and for far less money. The buried soil feeds roots slowly through the cap. When growth finally tapers or you want a new layout, you refresh it, protecting the biofilter so the cycle does not crash during the swap.
Can you vacuum a capped substrate?
No, not into it. Puncturing the cap releases trapped soil and gas, undoing the whole point of capping. Clean only the surface of the sand to lift debris, and rely on rooted plants and the bed to process waste below. A capped tank is designed to be left undisturbed, not dug into like inert gravel.