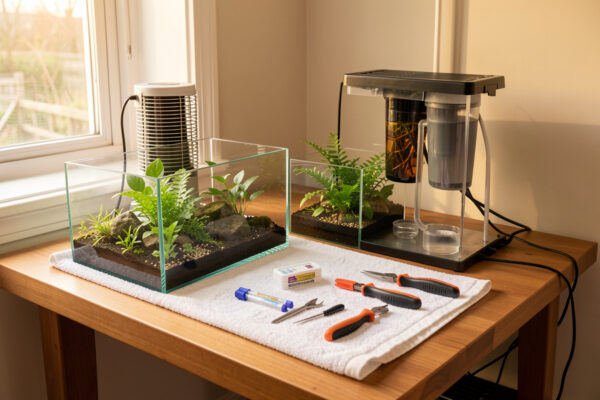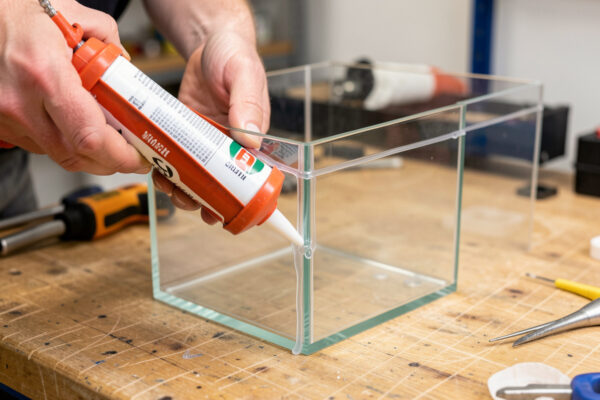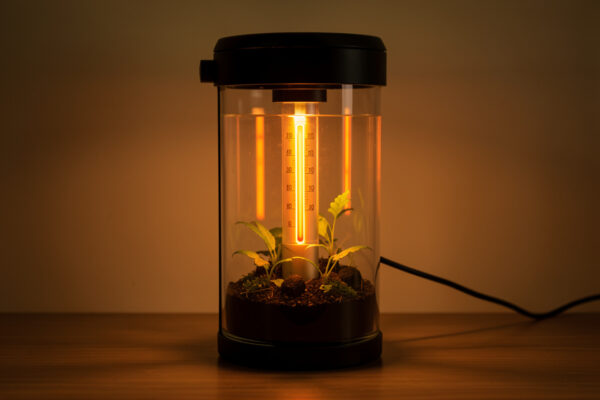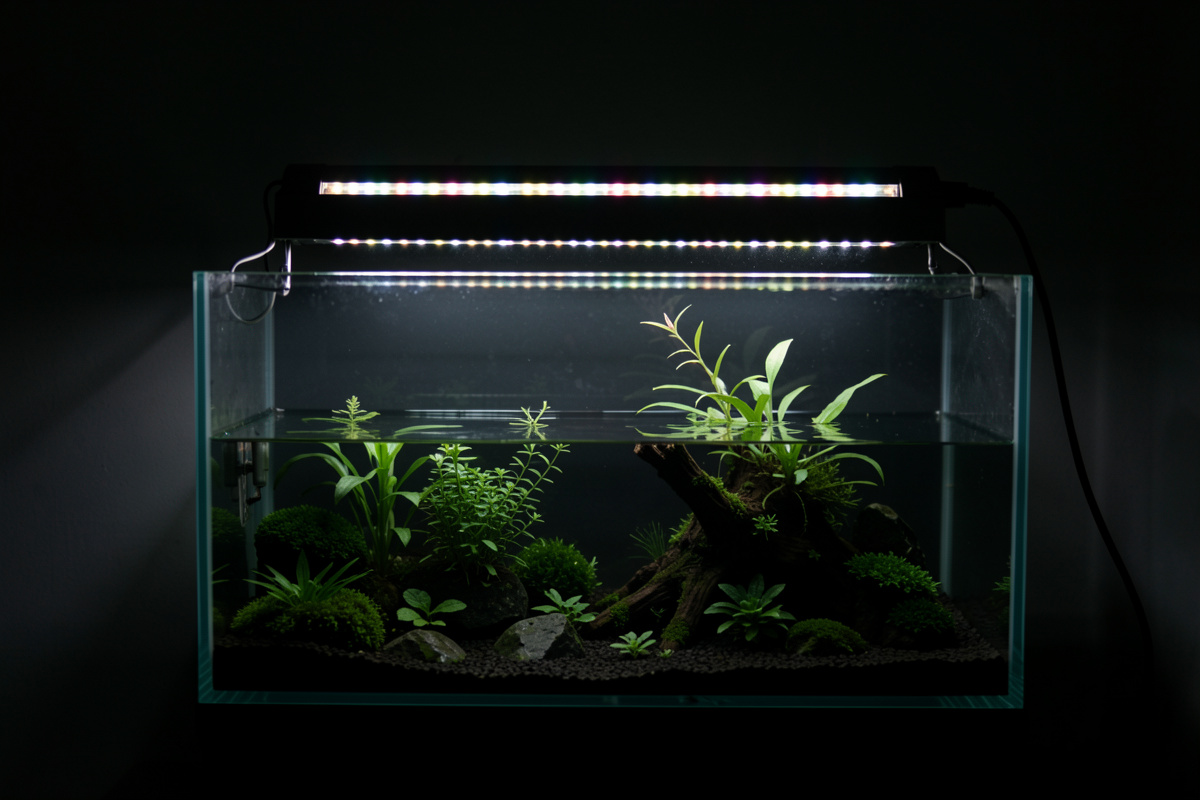
A flickering or dead aquarium LED is almost never the diodes failing — it’s the driver, a loose barrel-jack, or corroded contacts. The diodes themselves are rated for tens of thousands of hours and outlast everything around them. So when your light strobes or goes dark, you check the cheap failure points first, and you fix most lights for the price of a connector or a replacement power brick.
Light is one leg of the CO2-light-fertilizer trilogy on my high-tech 60-liter, and an unstable photoperiod there is a fast route to an algae bloom. So when a light misbehaves, I don’t just want it working again — I want it stable, because a strobing light stresses plants and can tip a balanced tank toward diatoms within days. Good news: LED failures are among the most fixable problems in this hobby, once you know they almost never originate where people assume.
This walks the check order from cheapest to costliest, explains why the diodes are the last suspect, and covers how to test around water and mains power without hurting yourself. A dark tank isn’t an emergency for your livestock the way a stuck heater is — but it is a countdown for your plants, so let’s fix it properly.
Why Do Aquarium LEDs Flicker or Die?
Because the weak links are the power path, not the light-emitting diodes. LEDs are rated for roughly 25,000 to 50,000 hours, and the U.S. Department of Energy’s solid-state lighting research consistently finds that LED product failures are dominated by driver and power-supply faults, not the diodes. On an aquarium light that means the power brick, the connector, and the wiring fail first — almost always.
Understanding that reorders your whole diagnosis. The diode array in a nano light strip is a set of tiny semiconductors that, run within their thermal limits, will outlast the tank. What sits around them is far more fragile: a switching driver (the plug-in “power brick”) full of capacitors that dry out with heat and age, a barrel-jack connector that loosens and corrodes in the humid air above a tank, and thin wiring that fatigues where it flexes. The Department of Energy’s solid-state lighting program has published exactly this pattern in its lighting reliability work: chase the driver and the connections, not the LEDs. In an aquarium environment you add constant humidity and the occasional splash, which accelerate connector corrosion beyond what a normal room light suffers. So a flicker is your light telling you the power delivery has become intermittent somewhere between the wall and the diodes. Find that break and you’ve found the fault.
What Should You Check First When an LED Flickers?
Start at the connections, because they’re free to fix and the most likely culprit. Reseat the barrel-jack where the cable meets the fixture, wiggle-test the plug at the wall, and inspect both for corrosion or a loose fit. Intermittent flickering that changes when you move a cable is a connection fault, full stop — you’ve just found it.
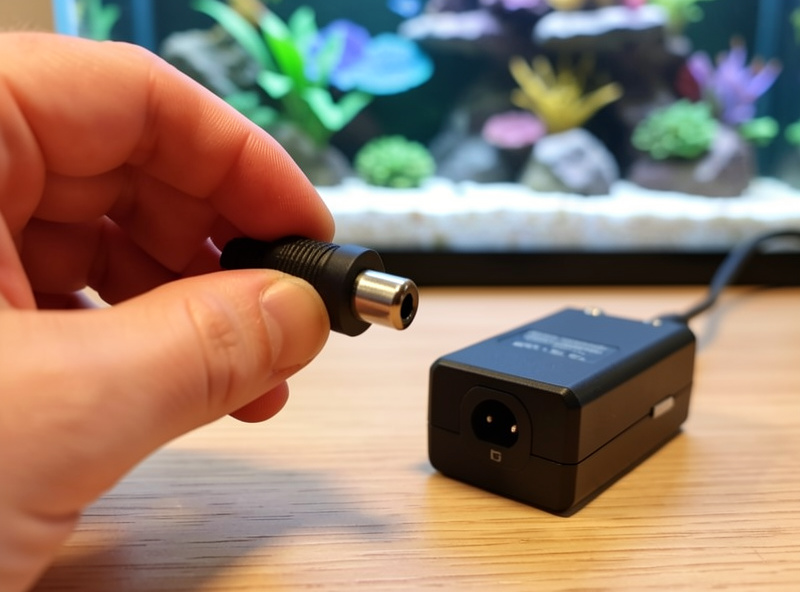
Here’s the order I run. First, the barrel-jack — that small round DC connector between the driver’s cable and the light. It’s the single most common failure point on aquarium LEDs because it lives in humid air, works loose over time, and corrodes. Unplug it, look for green or white oxidation on the pin, and reseat it firmly; if it’s loose or corroded, that’s often the entire problem. Second, the wall plug and the driver’s own cord — wiggle each while the light is on (hands dry, see the safety section) and watch for the flicker to respond. A flicker that tracks your movement is a broken or intermittent conductor. Third, check where the cable enters the fixture, a classic flex-fatigue point. Only after all of that do you suspect the driver itself. I learned this the expensive way: I once ordered a whole replacement fixture for a “dead” light, and while I waited for it I found the barrel-jack was simply corroded — a swab of DeoxIT contact cleaner and a firm reseat brought it back, and the new fixture sat unopened in a drawer for a year. Now I clean the connector first, every time. If your light is fine but you’re rethinking the fixture entirely, my picks are in the best LED light for a nano planted tank.
How Do You Know If It’s the Driver?
If the connections are clean and the light still flickers or won’t come on, the driver — the power brick — is the prime suspect. A failing driver often causes dimming, strobing, or a light that works cold then cuts out as it warms. The good news: on most aquarium lights the driver is a separate, replaceable module, so you don’t scrap the fixture.
Drivers fail in recognizable ways. A common one is thermal: the light works when first switched on, then flickers or drops out after it warms up, because aging capacitors inside the driver lose capacity as they heat. Another is outright death — the brick delivers nothing and the light stays dark. The cleanest test is substitution: if you have a compatible driver with the same voltage and polarity, swap it in and see if the light returns. Match the specs exactly — the voltage, current rating, and barrel-jack polarity are printed on the brick, and a mismatch can damage the diodes or simply not work. Because the driver is a sealed unit that either works or doesn’t, replacing just that part is usually cheap and returns the fixture to service. This is why I favor lights with an external, standard driver over sealed all-in-one units: a $15 brick beats a new fixture. If you’re weighing fixtures on that basis, the trade-offs are in my nano tank lighting guide.
Is the Flickering Hurting My Plants or Algae Balance?
An unstable light won’t kill fish, but it stresses plants and can unbalance a tank fast — especially a high-light, CO2-injected one. Plants photosynthesize on a rhythm; erratic light disrupts that, and the resulting imbalance between light, CO2, and nutrients is exactly what feeds diatoms and algae. On a tuned tank, a few days of strobing light can trigger a bloom.
This is why I treat a flickering light as more than cosmetic. On my high-tech tank, the whole system runs on a stable photoperiod — a consistent number of hours at a consistent intensity — because plants and algae both respond to the light schedule, and stability is what keeps the plants winning. When the light strobes or the photoperiod becomes erratic, the plants stall while opportunistic algae, which are less fussy, exploit the disorder. A dead light for a few days pushes low-light plants toward melting and can invite a diatom film as the balance shifts. So fixing a flickering light promptly isn’t just about aesthetics; it’s algae prevention. The logic of setting and holding a photoperiod — and why I run mine on a timer rather than by hand — is in my dimmer and schedule guide, and the deeper question of what your plants actually use from that light is in PAR vs PUR. Fix the light, then hold the schedule steady, and the tank settles.
Can You Repair an Aquarium LED or Should You Replace It?
Repair the connections and the driver — replace the fixture only if the diode array itself has failed, which is rare. A corroded barrel-jack, a broken cord, or a dead driver are all cheap, targeted fixes. A whole strip going dark with clean connections and a known-good driver means the array or its internal wiring has failed, and then replacement is the honest call.
My rule of thumb: if the failure is anywhere in the power path, fix that part; if it’s genuinely the LEDs, replace the fixture. In practice I replace connectors and drivers far more often than fixtures, because that’s where the failures actually live. When you do replace, buy a fixture with a standard external driver and a common barrel-jack so future failures stay cheap to fix — the same reliability-first logic I apply to heaters, where I never cheap out on the component that fails dangerously. A light failing is an inconvenience; it fails safe, dark. That’s a very different risk profile from the gear that can cook or drain a tank, which is why I sort my whole equipment kit by consequence in the troubleshooting hub. On a budget, reliable options do exist — I round up the honest ones in my budget nano tank light guide.
How Do You Test an Aquarium Light Safely Around Water?
Dry hands, dry surfaces, and never probe a live connector over an open tank. Unplug the fixture at the wall before reseating connectors, work on a towel away from the water, and route every cord in a drip loop so any water runs off before it reaches the plug. Above all, the tank’s circuit should be on a GFCI outlet.
I’ll be blunt because this is the part people skip. You are troubleshooting an electrical device suspended over a container of water, and water plus mains power is the specific hazard that ground-fault protection exists for. The National Fire Protection Association, which publishes the National Electrical Code, has required GFCI protection for receptacles in damp and wet locations for decades under Article 210.8 — and an aquarium is the textbook damp location. A $20 GFCI outlet or plug-in adapter will cut power in milliseconds if current finds a path to ground, which over a tank could be through you. Beyond that: unplug before you touch a connector, keep one hand in your pocket when working near live circuits out of old habit, and build a drip loop into every cord so gravity keeps water away from the plug. None of this is paranoia. It’s the difference between a fixed light and a hospital visit. Fix the light, but respect what it’s plugged into.
What I’d Do Starting Today
If your light is flickering, don’t buy a new fixture yet. Unplug it, clean and reseat the barrel-jack, wiggle-test the cords, and if the flicker persists, source a matching driver before you condemn the whole unit. Nine times in ten the fix is a connector or a brick, not the diodes. And put the tank on a GFCI today if it isn’t already — that’s the one upgrade that protects you rather than the fish. A stable, well-mounted light on a held photoperiod is the quiet foundation a planted nano needs, and it’s usually one cheap part away from working again.